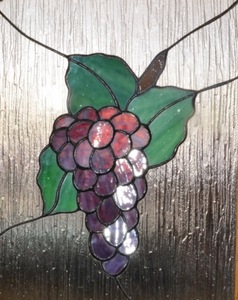
The picture or pattern is divided into spaces representing each individual piece of glass. Each space is then numbered. A sheet of transparent vellum paper is laid over the pattern, and each space is traced onto the paper. With special scissors, the spaces are cut out of the vellum and given their corresponding number. The scissors, which have three blades, leave a gap that compensates for the addition later of the copper foil or lead.
Once glass of the appropriate colors is chosen, each piece of paper is traced onto the glass, and its number is transferred to the glass. Each glass shape is then scored and cut. Stained glass must be cut edge to edge. A carbide wheel is used to score the glass, and special curved pliers are used to break the glass along the score lines.
The edges of the glass are then ground until each piece of glass fits perfectly in the pattern. As pieces are placed in the pattern, they are secured with clips so that the next pieces can be placed and checked for fit.
For the copper foil method: copper foil is folded forward and then under each piece of glass. The foil resembles a ribbon with an adhesive backing. Then the entire construction is soldered. Solder will adhere to the foil, but not to the glass. Once the construction is completed, it is cleaned. If the artist chooses, a patina can then be applied. Then the whole is polished and cleaned again.
For the lead cane method: lead cane has a channel cut into it that the glass fits into. The lead cane is stretched and fit to the edges of each piece of glass. Lead is soldered only at the junction where the pieces come together. After it is soldered, a glassine putty, or glazing compound, is applied underneath the cane to make the piece airtight and watertight. When the putty hardens, it also makes the piece stronger. The final step is polishing and cleaning.
